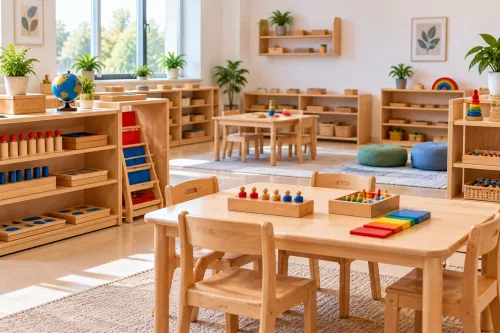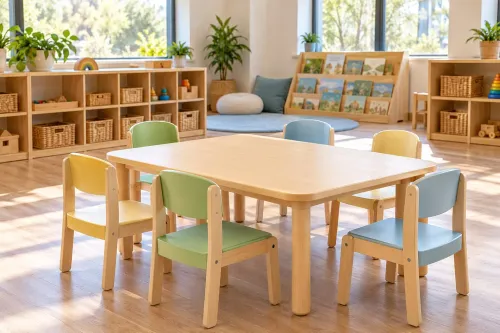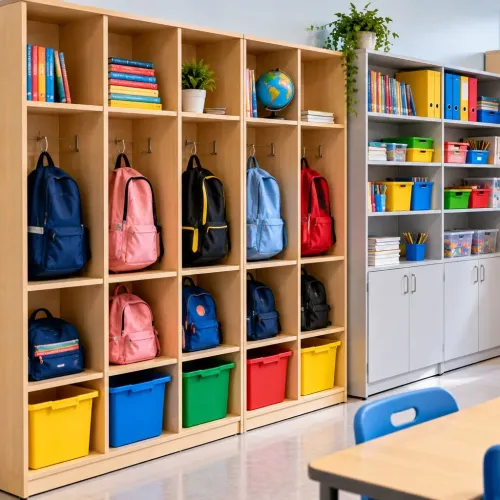
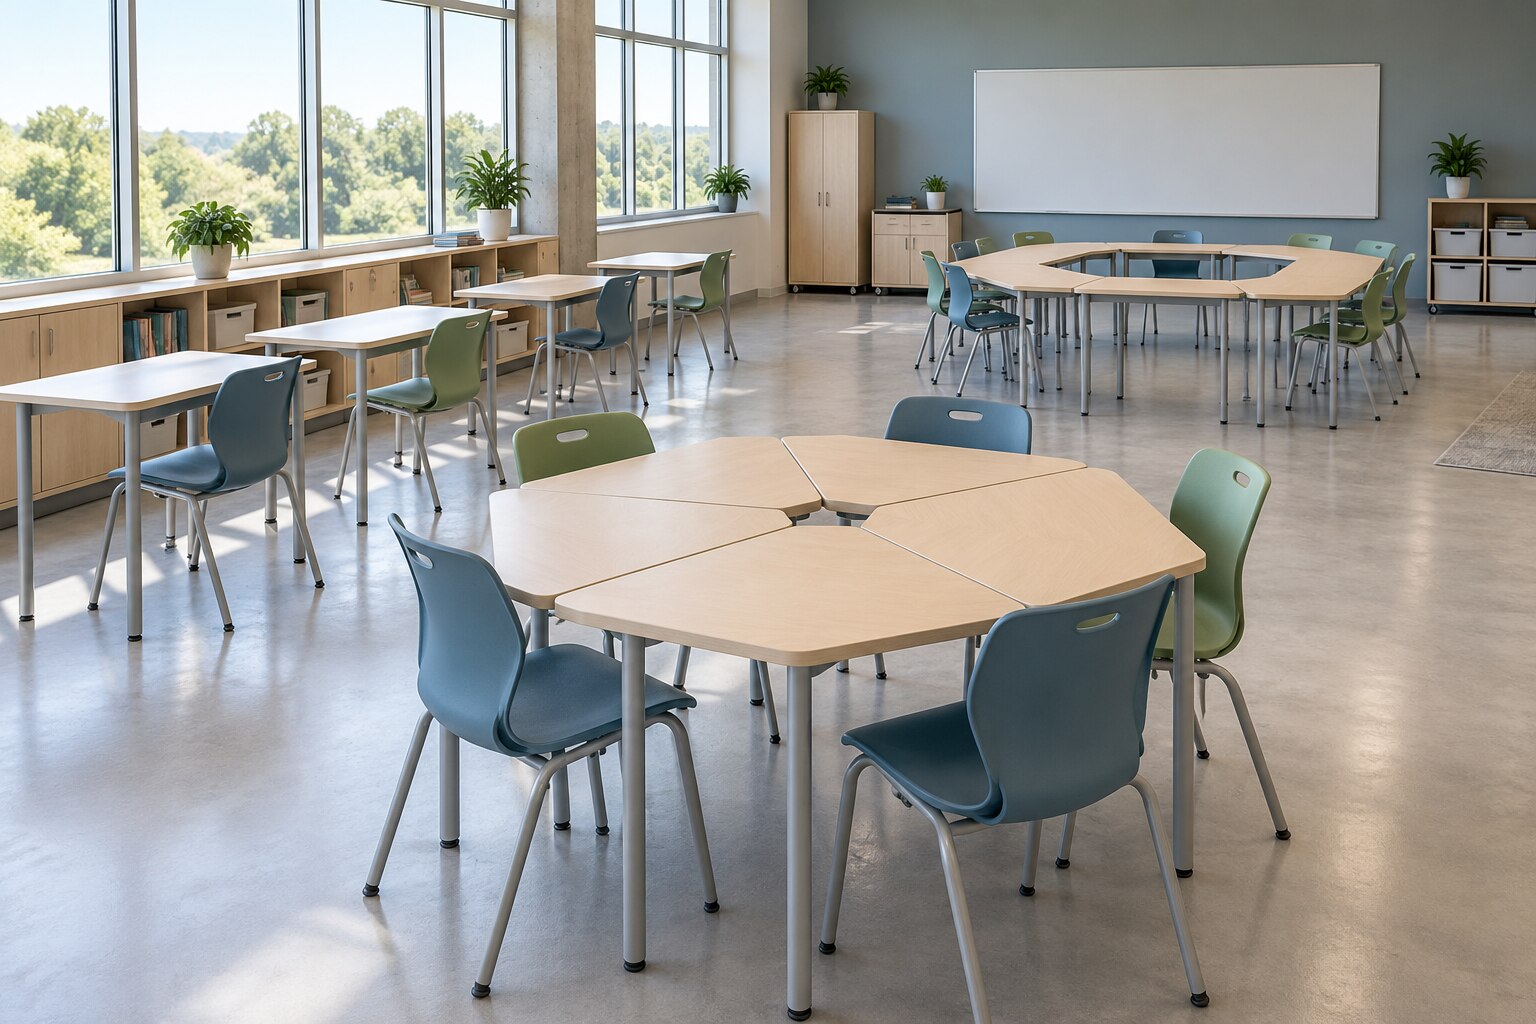
A classroom designed for rows can become awkward when the lesson changes to group work, movement, reading, or quiet regulation. By matching table geometry, storage, mobility, clearances, and supervision needs to each teaching mode, you can decide whether customization solves a real problem or merely adds complexity.
Key takeaways
- Match desks and tables to the lesson, group size, and teacher sightlines.
- Keep aisles clear and verify turning space before approving the plan.
- Use lightweight, lockable furniture that staff can rearrange safely.
- Specify durable finishes, installation details, and a documented maintenance routine.
Which furniture configurations fit each teaching layout?
Choose the configuration that makes the lesson easy without sacrificing teacher sightlines or circulation routes. Customized furniture works best when each arrangement supports a defined activity and resets quickly.
| Layout | Furniture configuration | Key control |
|---|---|---|
| Rows | Rectangular tables with one-way-facing chairs; place storage at the perimeter. | Keep clear teacher sightlines for direct instruction and examinations. |
| Pairs | Two-seat rectangular or trapezoidal tables facing forward or turned inward. | Leave enough space to separate pairs without crossing another pair’s route. |
| Small-group clusters | Tables forming houses of four to six, using trapezoids or triangles to reduce rearrangement. | Keep the centre open for teacher access and discussion. |
| U-shaped classroom layout | Join rectangular or trapezoidal tables around three sides, leaving the open end toward the teaching wall. | Avoid tall storage inside the U; it blocks visibility across the room. |
| Circular discussion layout | Use curved tables, wedge tables, or desks arranged in a ring with chairs facing inward. | Keep the centre clear and place display equipment outside the circle. |
| Learning stations | Use nesting tables, stackable chairs, low storage, and clearly separated work zones. | Mark circulation routes between stations and keep power at the perimeter or in protected floor boxes. |
| Flexible open-plan classroom | Combine mobile tables, low dividers, and shared storage rather than fixed islands. | Low screens preserve supervision; specify acoustic treatment separately. |
| Mixed-age classroom | Pair height-adjustable tables with adjustable chairs and varied work surfaces. | Group by activity, not only age, while keeping every child within teacher sightlines. |
Test every classroom layouts plan in whole-class, group, independent-work, and cleared-floor states. A layout that works only with chairs tucked in is not operational.
How do you measure and safety-test a customized classroom plan?
Approve a customized plan only after a full-scale classroom measurement and four real-use tests. Draw the door swing, window position, columns and outlets, radiator and fan locations, teaching position, storage, and accessibility routes; then place furniture on the plan with chairs, bags, and equipment included.
1. Mark a 30-by-48-inch clear floor space beside an accessible table and a 60-inch turning space wherever a wheelchair user must turn. Check both after chairs and mobile equipment are positioned.
2. Measure seat height and table height against children’s body sizes, with foot support available where feet do not reach the floor. Poor proportions cause unstable posture, fatigue, and unsafe climbing.
3. Walk every route in whole-class instruction, group work, independent work, and cleared-floor or evacuation conditions. Confirm adult supervision sightlines to every activity zone; tall storage or acoustic screens must not hide children, displays, or exits.
4. Push, pull, fold, and adjust each item to expose pinch points at hinges, nesting parts, linked desks, and adjustable legs. Specify rounded edges, anti-tip storage, and lockable casters; test brakes during writing, transfers, and rapid layout changes.
Measure sound as well as space: check whether partitions, storage, and hard surfaces create echoes that make instructions difficult to hear. Keep power leads outside circulation routes, and reject any arrangement that depends on perfectly tucked chairs or leaves a blocked exit. Local building, fire, and accessibility rules remain the final approval test.
How can a room change layouts without heavy lifting or blocked routes?
Keep primary circulation paths open by assigning movement to specific furniture, not by making every item mobile. Use tables on casters with positive brakes for row-to-cluster changes; keep perimeter storage fixed or lockable, because rolling cupboards can become impact hazards and block egress.
Nesting tables reduce the storage footprint between desk lessons and cleared-floor activities, while stackable chairs clear floor space quickly. Specify a pull-out and handling zone for nested stacks: a compact stack still fails if staff must drag it through a doorway or across children’s routes.
Child-height storage supports independent access; adult-access storage keeps supplies out of busy circulation areas.
| Option | Transition advantage | Route and visibility control |
|---|---|---|
| Modular storage | Holds materials near each activity | Keep units against walls and below sightlines |
| Reconfigurable partitions | Defines reading nooks and sensory zones | Use low panels so teachers retain supervision |
| Acoustic screens | Reduces sound spill between groups | Treat them as visual zoning, not wall-level isolation |
| Perimeter power access | Serves digital or maker tables | Avoid leads across routes; use fixed outlets or protected retractable systems |
Place power access at the perimeter or in floor boxes outside primary movement paths. Add cable management to every powered table, and reject extension leads stretched between clusters; they create trip points during transitions.
Preserve a 30-by-48-inch wheelchair position and a 60-inch turning diameter where a full turn is needed, then test the arrangement with bags, chairs, and teaching equipment in place. The quickest reset is still unsafe if furniture hides a doorway, narrows a route, or removes teacher visibility.
When is customization worth the trade-off?
Choose customization only when a recurring classroom problem cannot be solved by rearranging standard tables and chairs. Compare customized school furniture versus off-the-shelf furniture in a room brief that names the activities, users, access needs, storage demands, and target layout reset time.
- Approve customization when the same room must support several teaching modes and a specific table geometry cuts repeated lifting, congestion, or lost transition time.
- Approve it when standard sizes cannot preserve a 30-by-48-inch wheelchair position or a 60-inch turning circle after chairs, bags, and equipment are in place.
- Reject it when the claimed benefit is only visual novelty. Flexible furniture does not prove better learning evidence unless it improves comfort, focus, or participation during defined activities.
- Reject it when a low screen or bookcase is being asked to provide acoustic isolation. Specify rated acoustic construction separately.
- Price the long-term cost: lead time, prototype approval, installation, replacement parts, repair, and expansion. Ask whether a damaged component can be replaced without ordering a new set.
- Compare resale value. Unusual dimensions and proprietary fittings can make customized units harder to move to another room or sell.
A whole-room reconfiguration is justified when the measured gains exceed those costs across a normal week, not during a demonstration. Test one prototype through lessons, record reset time and movement problems, and collect teacher and student feedback before ordering the room.
Keep standard units where needs are temporary, enrolment is uncertain, or the layout will change again soon.
How should you specify, install, and maintain the final furniture plan?
Request a final plan that works when chairs are occupied, bags are on the floor, and adults are helping children. Treat the layout as an operating system, not a drawing.
- Obtain the manufacturer specification sheet, applicable educational-furniture dimensional standard, testing documents, warranty terms, and installation instructions for every module.
- Confirm table heights, seat sizes, edge radii, load limits, caster brakes, anchoring points, and replacement components against the children using the room.
- Check the installed plan against local accessibility requirements, including wheelchair clear floor spaces, turning areas, door swings, and unobstructed routes.
- Walk the room in whole-class, group-work, independent-work, and cleared-floor or evacuation conditions. Reject any arrangement that blocks sightlines, exits, supervision, or adult access.
- Keep tall storage at room edges only after checking fire and safeguarding requirements; use low units in teaching zones. Specify visual zoning separately from sound control under the applicable acoustic standard.
- Protect floors with suitable glides or casters and verify that mobile tables stop securely. Record anchor locations, finish codes, and matching finishes for future repairs.
- Agree on a maintenance schedule covering fastener checks, caster cleaning, upholstery cleaning, and inspection of sharp edges, loose parts, and damaged modules.
- Order spare parts with the installation and label each item by room and module. Define a safe holiday storage location so stacked or folded furniture cannot tip or block exits.
- Ask Arko Global to supply an as-installed plan showing module positions, clearances, finishes, and serviceable components rather than only a visual layout.
Frequently asked questions
Which furniture configurations fit each teaching layout?
Rows suit direct instruction, clustered tables support group work, and a U-shape improves discussion and teacher visibility. Choose pieces that fit the activity without narrowing circulation routes.
How do you measure and safety-test a customized classroom plan?
Measure the room, door swings, windows, fixed equipment, and clear aisle widths. Mark the proposed footprint, test every route, check stability and pinch points, and confirm teacher sightlines.
How can a room change layouts without heavy lifting or blocked routes?
Use lightweight desks with handles, lockable casters where appropriate, stackable seating, and mobile storage. Set a reset plan so furniture returns to marked positions without crossing exit routes.
When is customization worth the trade-off?
Customization earns its cost when standard furniture wastes floor area, restricts an essential activity, or fails accessibility and storage needs. Choose standard pieces when they meet the plan without costly alterations.
How should you specify, install, and maintain the final furniture plan?
Document dimensions, materials, edge treatments, load limits, caster or glide types, layout marks, and installation tolerances. Inspect fasteners, glides, locks, surfaces, and moving parts on a scheduled routine.