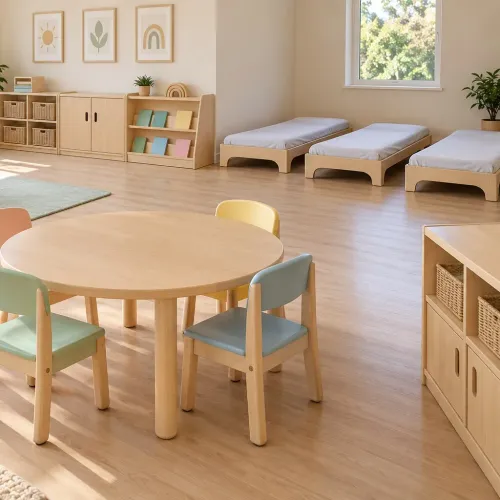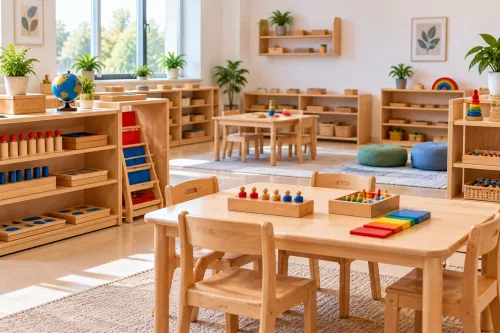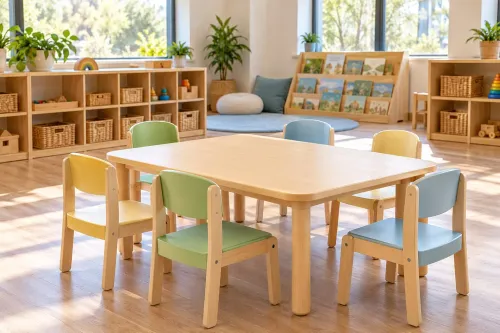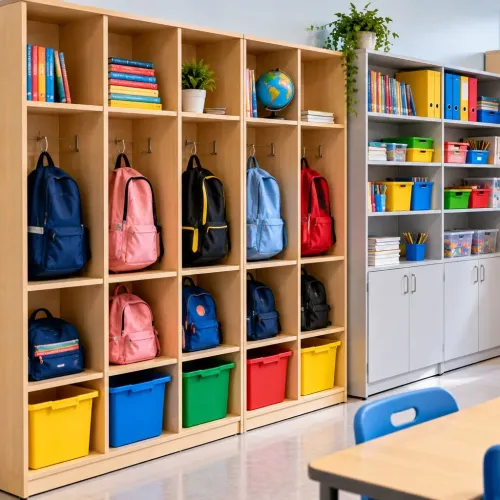
A successful learning space must support teaching, movement, storage, supervision, comfort, and changing activities without becoming cluttered or overstimulating. By the end, you will know how to turn a school brief into measurable zones, compare layout options, specify suitable furniture, and test the arrangement before committing to installation.
Key takeaways
- Start with pupil numbers, lesson formats, inclusion needs, budget, and maintenance demands.
- Place learning zones and circulation around teaching activities, movement, and clear sightlines.
- Compare layouts by supervision, noise control, and the time needed to reconfigure them.
- Test furniture, acoustics, storage, and finishes together before purchase and installation.
Start With Children, Teaching Activities, and the Room’s Real Constraints
Designers turn a general school brief into a usable plan by converting teaching intentions into room-specific decisions, tested against children and the building. The school interior design process begins with a classroom design brief that fixes the number of pupils, lesson formats, inclusion needs, budget, and maintenance demands.
- Start with child-age analysis: measure pupil stature and match chairs and tables to EN 1729 size markers, rather than assuming one kindergarten size fits everyone.
- Use activity mapping to record teacher instruction, independent work, collaboration, reading, sensory regulation, and messy play. Give each activity a location, furniture requirement, storage point, and reset method.
- Survey the room before drawing: measure doors and swings, windows, columns, outlets, fire exits, accessible routes, plumbing, heating, supply grilles, and return-air paths.
- Test the plan with furniture, bags, materials, and occupied chairs in place. Keep accessible routes at least 36 inches wide and provide a 60-inch turning circle where wheelchair users need to turn.
- Specify storage for unused tables and chairs, anchoring for tall units under CPSC guidance, and castors that lock when movement would create risk.
The plan must also work as a building system. Check enclosed booths and higher occupancy against the mechanical engineer’s ASHRAE Standard 62.1 ventilation calculation, and coordinate cleanable, low-emitting finishes with EPA school indoor-air-quality guidance. A clear plan that blocks an air return, sightline, or emergency exit has failed.
Build Zones and Circulation Around What Happens in the Room
Divide the room by activity and sightline, not by furniture type. Place teacher-led instruction where every child is visible, then arrange classroom activity zones around a clear route to the door, storage, and specialist areas.
- Teacher-led instruction: keep the teaching wall, presentation surface, and demonstration table free from passing traffic.
- Independent learning: position quiet desks or reading seats at the room’s calmer edge, away from construction and discussion.
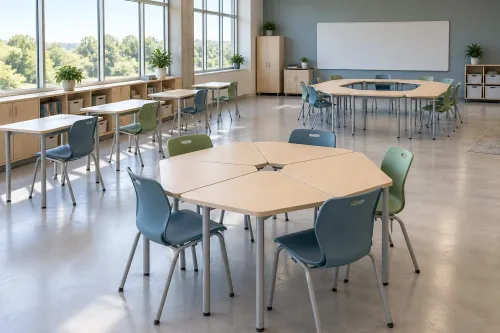
- Collaborative work area: group movable tables where children can talk without blocking the teacher’s view or the main walkway.
- Sensory regulation: provide a visible, low-stimulation retreat with soft, cleanable surfaces, rather than hiding it behind tall storage.
- Specialist activities: place messy play near sinks, plumbing, washable finishes, and ventilation paths; keep art materials beside the activity rather than across the room.
- Storage: use labelled, child-accessible units for daily resources and lockable storage for hazardous or specialist equipment. Anchor tall shelving to the wall construction, and define a separate location for unused tables and chairs.
Keep accessible routes at least 36 inches clear and test a 60-inch turning space after chairs, bags, and activity materials are added. Furniture must not narrow door swings, fire-exit access, or teacher sightlines.
Use calm base colours, then concentrate stronger colour at zone edges, wayfinding points, or selected activity areas. Check enclosed booths and dense storage with the mechanical engineer because furniture placement affects outdoor-air delivery and return-air paths.
Compare Layouts by Supervision, Noise, and Reconfiguration Time
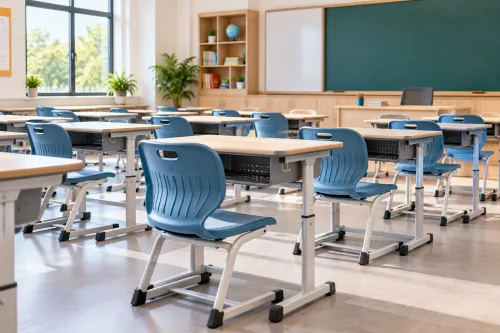
The best layout depends on what must stay visible, quiet, and movable. Rows versus clusters is not a matter of taste: rows protect teacher sightlines and independent concentration, while clusters support discussion but increase sound and supervision demands.
| Layout | Supervision and noise | Best fit | Reconfiguration and room shape |
|---|---|---|---|
| Rows | Strong teacher sightlines; lowest peer noise | Larger classes, direct instruction, tests, older pupils | Fast reset; works in long, narrow rooms |
| Clusters | Shared visibility; louder group talk | Small or medium classes, project work, collaborative lessons | Moderate reset; suits square rooms with wide circulation |
| Semicircle classroom layout | Clear teacher view and discussion; moderate noise | Whole-class questioning, younger children, language lessons | Quick reset; suits shallow rooms or curved teaching walls |
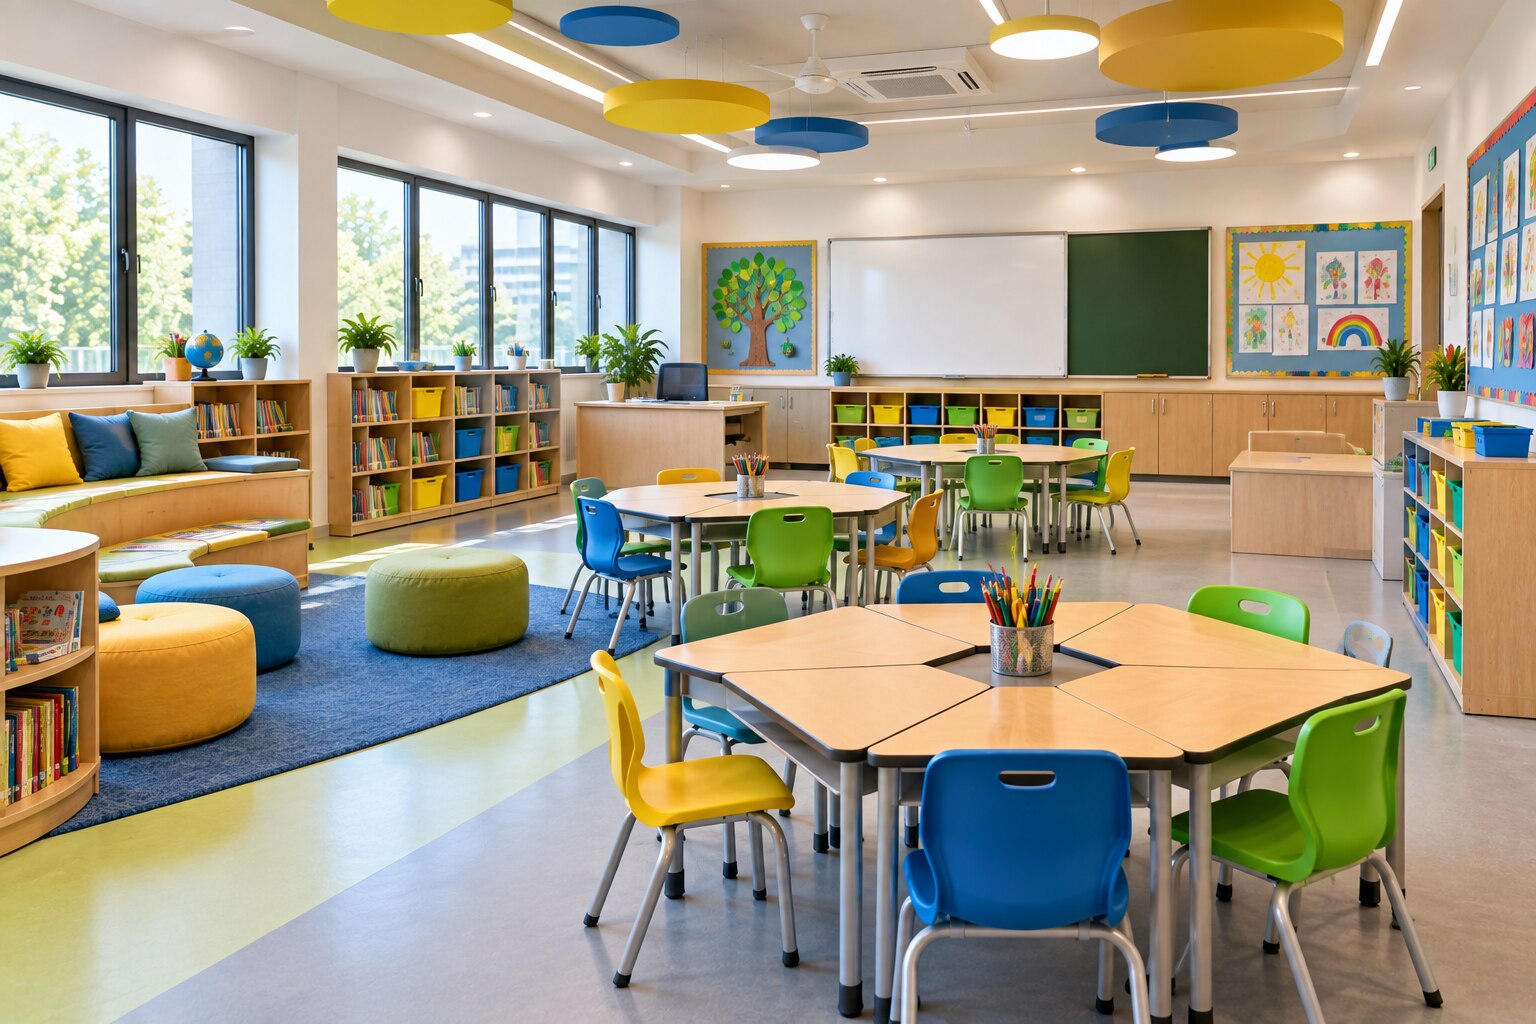
| Flexible learning zones | Supervision varies by zone; noise needs acoustic control | Mixed-age teaching, independent work, reading, sensory regulation | Slowest reset unless unused furniture has defined storage; suits larger rooms |
A semicircle classroom layout keeps every child oriented toward the teacher, but it leaves less efficient table space than rows. Clusters suit primary pupils who collaborate frequently; older pupils doing sustained individual work often need the separation that rows provide.
Use flexible learning zones only when storage, lockable castors, and unobstructed accessible routes are designed together. Otherwise, moving furniture creates clutter, blocks doors, and destroys teacher sightlines.
Check noise before approving clusters or enclosed zones. For rooms up to 10,000 cubic feet, ANSI/ASA S12.60 sets a 35 dBA unoccupied background limit and 0.6-second reverberation limit; specify sound-absorbing furniture and finishes, not just movable tables.
Specify Furniture, Acoustics, Storage, and Finishes as One System
Specify furniture, acoustics, storage, and finishes as one system: each choice must support the activity without creating blocked routes, excessive noise, tip hazards, or indoor-air pollutants. A durable table is still a poor choice if its depth narrows the accessible route or its hard surface makes classroom acoustics worse.
Check each furniture specification for:
- Dimensions and seat heights aligned with the EN 1729 school furniture standard and the children’s age range
- Low-emitting school furniture, water-based finishes where suitable, and cleanable, moisture-resistant surfaces
- Rounded edges, stable bases, replaceable feet, and lockable castors where movement is part of the plan
- Child-accessible storage for daily materials, with tall shelving and cupboards anchored to the wall using fixings compatible with its construction
- Defined parking for unused tables and chairs, so flexibility does not become clutter
- At least 36 inches of clear route width after chairs, bags, and activity materials are placed; test a 60-inch turning circle where wheelchair users need to turn
- Acoustic absorption in ceilings, walls, pinboards, rugs, or furniture, coordinated with the room design
- A target of no more than 35 dBA unoccupied background noise and 0.6 seconds’ reverberation time for classrooms up to 10,000 cubic feet under ANSI/ASA S12.60
- Furniture positions that do not block supply or return-air paths
Low-emitting materials and cleanable finishes support source control, but they cannot replace ventilation or moisture control. Ask the mechanical engineer to check outdoor-air rates when dense furniture or enclosed study booths change occupancy patterns.
Test the Layout Before You Buy, Install, and Hand It Over
Prove the design at child scale and teacher speed before you release a purchase order. A polished rendering will not show a blocked door, a hidden child, or the time needed to reset the room.
1. Start with a scaled classroom floor plan showing door swings, windows, outlets, fire exits, storage, and accessible routes. Check the plan against the mechanical engineer’s ventilation calculation: ASHRAE 62.1 uses occupant-based and area-based rates, so enclosed booths or denser furniture can change the outdoor-air requirement.
2. Transfer the plan to the empty room with full-size floor marking. Place tables, chairs, shelves, bags, and activity materials inside the marks, then test a 36-inch clear accessible route and a 60-inch turning circle. Walk the teacher’s route to every teaching zone and emergency exit.
3. Build a classroom mock-up of the highest-risk area, such as a reading nook, storage wall, or collaborative table group. Invite teachers and children to use it; record blocked sightlines, awkward reach distances, noise, tipping risks, and the minutes required to switch activities.
Match chairs and tables to measured pupil stature using EN 1729 size markers, not age alone.
4. Revise the specification before installation. Require anchor details compatible with the wall construction for tall storage, defined parking for unused furniture, and lockable castors where needed. Arko Global can help test whether a proposed nook or shelving arrangement preserves supervision and circulation rather than merely fitting the room.
After handover, schedule a post-occupancy review at four to eight weeks. Compare the intended layout with daily use, then correct recurring clutter, inaccessible routes, poor ventilation zones, and furniture that teachers avoid.
Related products
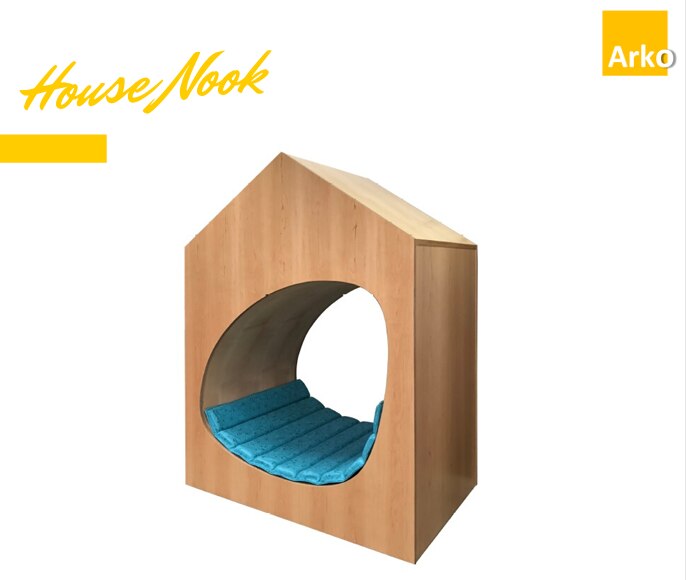 | KINDERGARTEN TABLES A cozy place to read a book alone or with a friend. Colorful fabric an finish options can really brighten up library or school spaces and make it... View product → |
 | SHAPES / LAYOUTS Arko Global is one of the leading manufacturers of kindergarten shapes and layouts in Bangalore, specializing in creative, safe, and child-friendly... View product → |
Frequently asked questions
What should a school interior designer assess before planning a classroom?
Assess pupil numbers, teaching activities, inclusion needs, budget, maintenance demands, and the room’s physical constraints.
How should learning zones and circulation be arranged?
Arrange them around what happens in the room, including group work, independent study, movement, storage access, and teacher supervision.
How can schools compare different classroom layouts?
Compare each layout by sightlines and supervision, noise between activities, circulation, and the time required to reconfigure furniture.
Why specify furniture, acoustics, storage, and finishes together?
These elements affect one another: furniture influences movement and noise, while storage and finishes affect accessibility, maintenance, and concentration.
How should a school test a layout before buying furniture?
Review the plan against real teaching activities, movement routes, supervision needs, storage use, and reconfiguration before purchasing or installing.
Related products
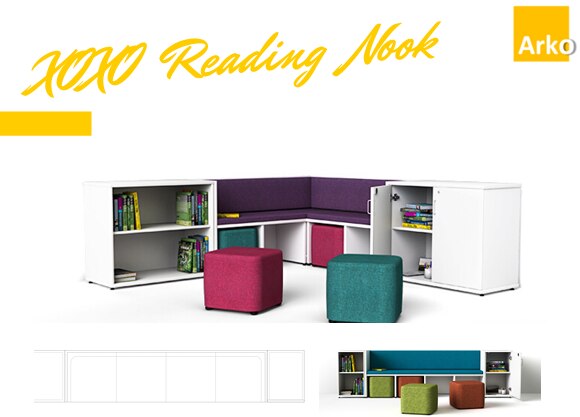 | KINDERGARTEN TABLES The XOXO Reading Nook is the perfect element to include into any classroom that needs a quiet reading space. View product → |
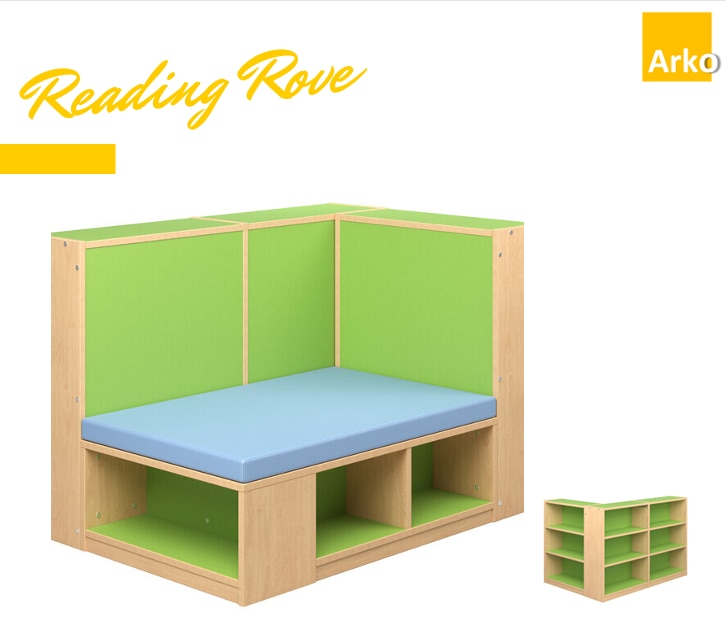 | KINDERGARTEN TABLES After picking out a book, you need to find a comfortable place to enjoy it. View product → |