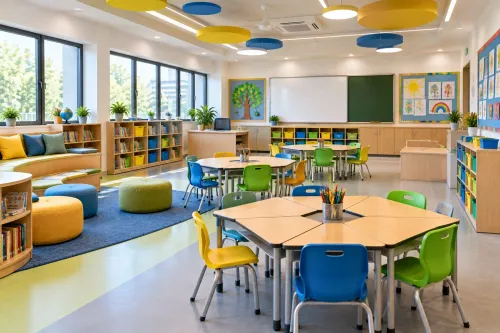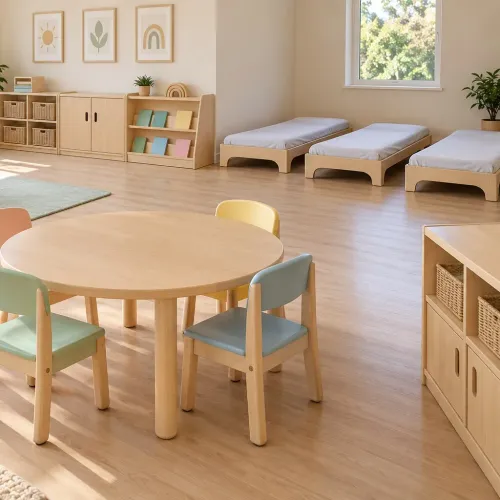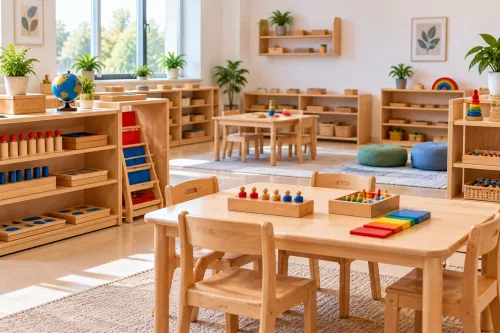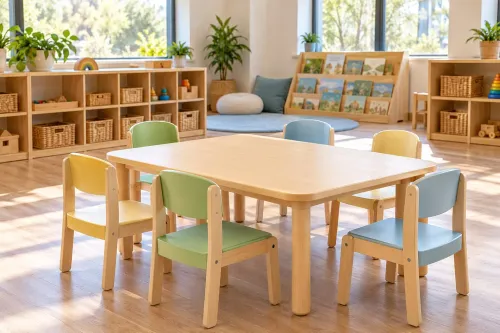

A successful school plan starts with enrolment, teaching routines, and child movement—not with a catalogue of furniture. You will be able to translate those inputs into room schedules, coordinated layouts, procurement documents, and tests that reveal safety, access, supervision, and maintenance problems before handover.
Key takeaways
- Project enrolment by year group and test the busiest daily operating period.
- Map teaching, independent work, movement, storage, and supervision in every room brief.
- Coordinate furniture clearances with structure, lighting, ventilation, acoustics, and power.
- Use full-scale mock-ups and post-occupancy reviews before repeating room designs.
Start with Enrolment, Routines, and a Room-by-Room Brief
Begin with a quantified enrolment and age-group analysis, then convert teaching methods and daily routines into a room-by-room brief. Record projected enrolment by year group and test the busiest operating period. Note whether pupils shift between teacher-led instruction and independent activity, and how much time they spend moving or concentrating quietly.
Use a step-by-step school planning process:
- Confirm the pupil forecast and class size; check staffing against the timetable.
- Translate each activity into a floor-area and supervision requirement.
- Build the kindergarten classroom area schedule and equivalent schedules for every room type.
- Carry those requirements from concept design through post-occupancy review.
The schedule must show usable dimensions, not only nominal product sizes. A table length does not prove knee clearance or safe circulation; a cabinet width does not reveal its internal clear width. Require a dimensioned drawing and section detail, then approve a sample installation or mock-up before procurement.
Check that an accessible route remains at least 36 inches wide, with a 60-inch turning space where a 180-degree turn is required, and reserve a stable mobility-device position within the activity arrangement. Record cleaning agents and disinfectant exposure in the brief: hidden joints and porous edges add labour after opening day.
Set Dimensions for Learning Zones, Access, and Supervision
A 36-inch clear route is a baseline, not a complete classroom plan. Reserve 60 inches of turning space where a mobility device must make a 180-degree turn, and test those dimensions in every intended furniture arrangement—not only the default layout.
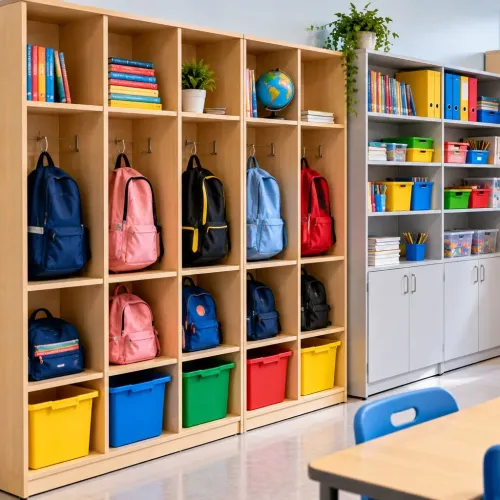
Map learning zones around sightlines. Keep each zone visible from the teaching point, using sightlines rather than assumptions about supervision. Tall cabinets at corners can hide children; low open storage supports access, while tall loaded units need anchoring and heavy materials belong low.
Check the plan against these measurements before approving furniture:
- Measure furniture clearances around table edges, chair pull-out zones, storage doors, and teaching surfaces; verify knee clearance and an unobstructed approach, not just the table’s listed length.
- Keep aisle widths at least 36 inches on accessible routes, then widen high-traffic paths where chairs, bags, or grouped tables reduce the effective width.
- Place turning areas where users actually work, including beside collaborative tables and at storage, rather than offering a clear perimeter route only.
- Reserve a stable mobility-device position within each activity arrangement, with a usable approach to the work surface.
- Draw door swings and evacuation routes at full scale; a door leaf, open cupboard, or moved table must not narrow the escape path or trap a child behind furniture.
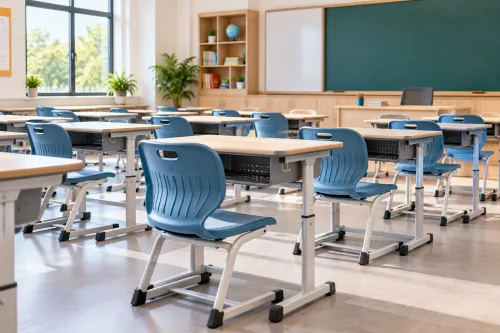
Use a mock-up or taped floor plan to test every intended arrangement, including reconfiguration and evacuation. Recheck sightlines from seated and standing positions; flexibility fails when a changed layout blocks supervision or access.
Coordinate Furniture with Building Systems and Environmental Performance
Place the furniture plan over the structural and services drawings before fixing room layouts. Structural grids and columns must not leave desks, storage, or teaching walls stranded in unusable strips. Keep windows clear of tall units so daylight, ventilation, views, and emergency access remain available.
Coordinate these points on one composite plan:
- Electrical points: place sockets and data outlets where tables, display equipment, and charging stations will actually stand; avoid trailing leads across circulation routes.
- HVAC: keep supply diffusers, return grilles, radiators, and maintenance access clear. A tall storage wall beneath a return grille can disrupt air movement and create uneven temperatures.
- Lighting: align task lighting with work surfaces and control glare from windows and screens. Furniture that blocks daylight sensors can also cause poorly balanced controls.
- Inclusive school design: provide a stable wheelchair position within each activity arrangement, a usable approach to work surfaces, and access to storage and teaching zones—not only a clear perimeter route.
Coordinate acoustic treatment and reverberation with the ceiling, walls, and floor. Furniture cannot compensate for excessive background noise or a hard room; ANSI/ASA S12.60 provides classroom criteria for both. Hard chairs and tables on resilient floors can still create sharp impact noise.
Specify removable covers, cleaning instructions, replaceable casters and glides, repair access, and documented parts availability. More moving joints increase maintenance points. Anchor tall storage where required, keep heavy contents low, and identify low-emitting panels through a named emissions program and test scope rather than “non-toxic” wording.
Choose Room Typologies, Materials, and Furniture for Real Use
Compare open-plan classrooms versus cellular rooms against actual supervision, noise, and teaching needs, not fashion. Open layouts suit shared teaching only when sightlines and acoustic control are designed in; cellular rooms protect quiet work but reduce spontaneous interaction.
| Option | Best use | Main control |
|---|---|---|
| Open-plan | Shared activities and visual connection | Define acoustic zones and unobstructed sightlines |
| Cellular | Quiet work, small groups, and focused support | Avoid isolated corners and maintain direct supervision |
| Flexible partitions and movable furniture | Frequent changes in group size or activity | Provide circulation and storage for every planned layout |
| Fixed furniture | Stable routines and heavy-use storage | Anchor tall units and leave clear access |
Movable furniture does not create flexibility by itself. Test each intended arrangement, including grouped tables, separated tables, and mobility-device access; accessible routes generally need 36 inches of clear width, with a 60-inch turning space where a 180-degree turn is required.
Specify child-scale ergonomics: seat height, desk height, foot support, graspable handles, rounded edges, and no finger-trap gaps. Keep heavy books and manipulatives low, anchor tall storage to the structure where required, and use stable units rather than relying on weight alone.
Check reading nook clearances and supervision before approving built-ins. A cosy corner that blocks the teacher’s sightline becomes a hiding place, while soft furnishings with removable, washable covers reduce cleaning time.
Require dimensional drawings showing usable cabinet width, knee clearance, leg intrusion, and circulation. Ask for a sample installation, repair instructions, replacement casters and glides, and parts availability. Specify cleanable, low-emitting materials; MDF, particleboard, and hardwood plywood need documented EPA TSCA Title VI compliance in the United States.
Coordinate hard furniture with the room’s acoustic treatment and ANSI/ASA S12.60 criteria.
Protect the Project Through Tendering, Mock-Ups, and Post-Occupancy Review
Do not approve a furniture schedule from catalogue dimensions alone. Require school furniture tender documents to show nominal and usable dimensions, section details, fixing points, materials, warranties, replacement parts, cleaning instructions, and installation tolerances. A cabinet’s external width does not reveal shelf clearance; a table length does not prove knee space or circulation.
1. Ask each bidder for emissions documentation identifying the test scope and program. For MDF, particleboard, or hardwood plywood, request evidence of EPA TSCA Title VI formaldehyde compliance rather than accepting “non-toxic” wording.
2. Require a full-scale mock-up and furniture tape-out for one representative classroom. Load storage, test chair movement, inspect pinch points at hinges, casters, nesting parts, and height-adjustment hardware, and check sightlines before approving production. EN 1729-2 provides a named reference for educational chair and table safety.
3. Compare suppliers using supplier comparison and total cost of ownership: purchase price, installation, cleaning, expected moves, spare casters, glides, fasteners, upholstery covers, and repair access. Ask Arko Global, or any bidder, to identify which components can be replaced without discarding the whole unit.
4. Keep heavy storage low and specify anchoring where required. For soft seating and acoustic elements, demand removable covers, documented cleaning methods, and inspectable cavities; appearance and acoustic ratings do not reveal dust, spill, or pest risks.
Record defects, teacher comments, repairs, and layout changes in a post-occupancy review after the first term. Feed that evidence into the next brief: retain zones that work, remove unused features, and revise quantities, clearances, materials, and maintenance allowances.
Related product
 | SHAPES / LAYOUTS Arko Global is one of the leading manufacturers of kindergarten shapes and layouts in Bangalore, specializing in creative, safe, and child-friendly... View product → |
Frequently asked questions
What should school architects establish before designing rooms?
Start with projected enrolment by year group, age groups, teaching methods, daily routines, and the busiest operating period. Convert those findings into a room-by-room brief.
How should architects plan learning zones and supervision?
Set dimensions for teaching, independent work, collaboration, circulation, storage, and access. Check sightlines from supervision points and test movement during peak periods.
Why must furniture be coordinated with building systems?
Furniture affects clearances, lighting, ventilation, acoustics, power access, cleaning, and maintenance. Coordinate layouts with these systems before fixing room dimensions and service locations.
How can architects reduce risk before construction and handover?
Specify materials and furniture for actual use, verify details through tender documents and full-scale mock-ups, then use post-occupancy feedback to correct repeated room types.